Salesforce Lightning Web Component
This document shows you haw you can use Org Chart JS in a Salesforce Lightning Web Component.
-
Signup with Salesforce using this link.
-
Add this line to the orgchart.js at EOF:
window.OrgChart = OrgChart;
-
Once you login to Salesforce, click the gear icon on top right and go to Setup.
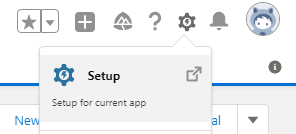
On the search bar to the left of the screen, search for "Static Resource" and click to open it.
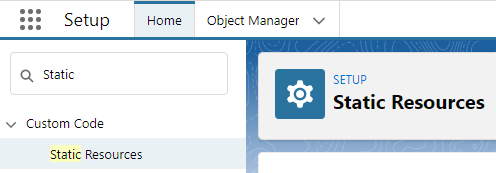
Navigate to the static resource screen and click on the "New" button to create a new static resource named orgchart. Upload the orgchart.js file here. You should have something like this after saving it:

-
For the trial version of Org Chart JS:
On the search bar to the left of the screen, search for "CSP Trusted Sites" and click to open it.

Navigate to the CSP Trusted Sites screen and click on "New Trusted Site" button.
For trusted site URL enter https://*.azurewebsites.net
For trusted Site Name add some name, check all checkboxes and click on Save.
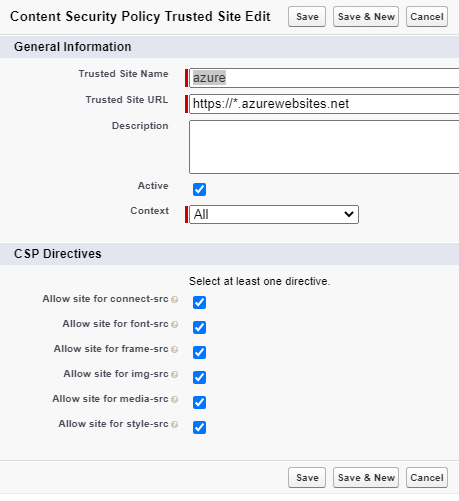
After saving it you should have something like this:

-
Install Visual Studio Code if you don't have it already.
-
Install Java Platform, Standard Edition Development Kit (JDK) 17 (recommended), 11 or 8.
After installing the Salesforce extention you may need to setup your Java for Salesforce.
-
Set Up Visual Studio Code for Falesforce.
(If sfdx is not working after setup, chek if you are in restricted mode ).
-
Install Salesforce CLI.
-
Create a Salesforce DX Project:
In Visual Studio Code, open the Command Palette by pressing Ctrl+Shift+P (Windows) or Cmd+Shift+P (macOS).
Type SFDX
Select SFDX: Create Project.
Press Enter to accept the standard option.
Enter OrgChartLightningWebComponent as the project name.
Press Enter
Select a folder to store the project.
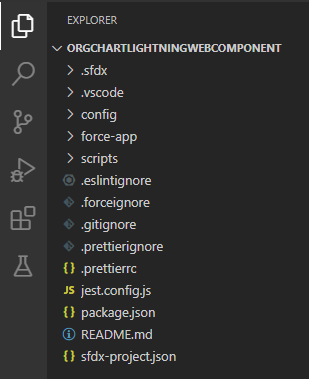
Click Create Project. You should see something like this as your base setup.
-
Create a Lightning Web Component:
In Visual Studio Code, open the Command Palette by pressing Ctrl+Shift+P (Windows) or Cmd+Shift+P (macOS).
Type SFDX
Select SFDX: Create Lightning Web Component.
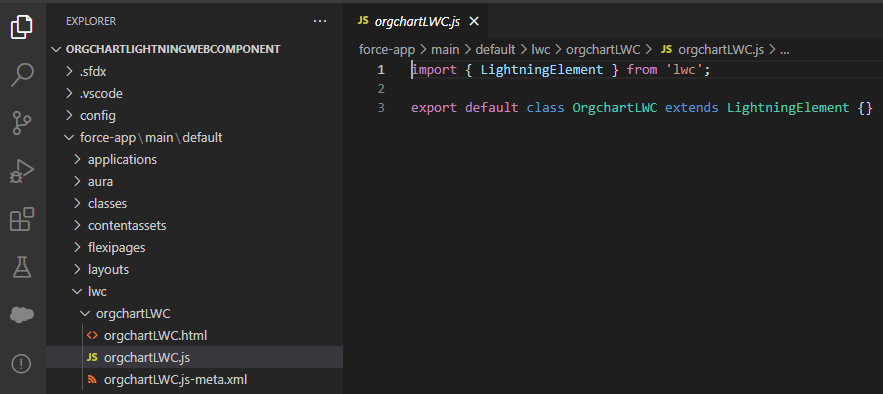
Enter orgchartLWC as the project name and press Enter.
Press Enter to accept the default force-app/main/default/lwc.
View the newly created files in Visual Studio Code.
-
Replace the code with the following:
html:<template> <div class="slds-box slds-theme_default custom-background"> <div data-id="tree" class="orgchart" data-width="800" data-height="450" lwc:dom="manual"> </div> </div> </template>
js:import { LightningElement,api } from 'lwc'; import { loadScript, loadStyle } from 'lightning/platformResourceLoader'; import orgChartJSF from '@salesforce/resourceUrl/orgchart'; export default class ContactHierarchy extends LightningElement { error; chart; initialized = false; @api recordId; contactsArray = []; myList = []; renderedCallback() { if (this.initialized) return; this.initialized = true; Promise.all([ loadScript(this, orgChartJSF), ]) .then(response=> { this.intialize(); }) .catch((error) => { this.error = error; }); } intialize() { var nodes = [ { id: 1 }, { id: 2, pid: 1 }, { id: 3, pid: 1 } ]; var chart = new OrgChart(this.template.querySelector('[data-id="tree"]'),{ }); chart.load(nodes); } }
meta.xml:<?xml version="1.0" encoding="UTF-8" ?> <LightningComponentBundle xmlns="http://soap.sforce.com/2006/04/metadata"> <targets> <target>lightning__AppPage</target> <target>lightning__RecordPage</target> <target>lightning__HomePage</target> </targets> <apiVersion>52.0</apiVersion> <isExposed>true</isExposed> </LightningComponentBundle>
Save the files.
-
Deploy your project:
Right-click the default folder under force-app/main
Click SFDX: Deploy Source to Org.
You should have received a notice that states:ended SFDX: Deploy Source to Org

-
Use your component in Salesforce:
Open your Salesforce org and go to Contacts.

Create a contact if you don't have an and open it.
Click on the gear icon in top right and select Edit Page.
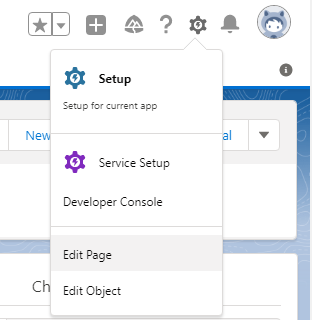
In the Serch field type orgchartLWC
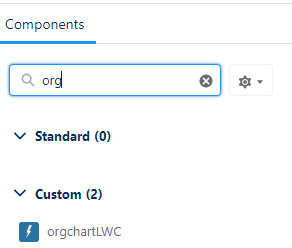
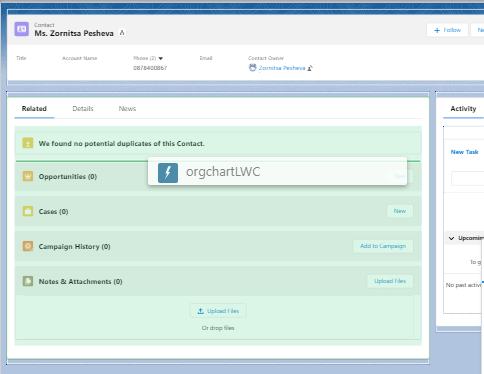
Drag and drop the orgchartLWC component onto the page.
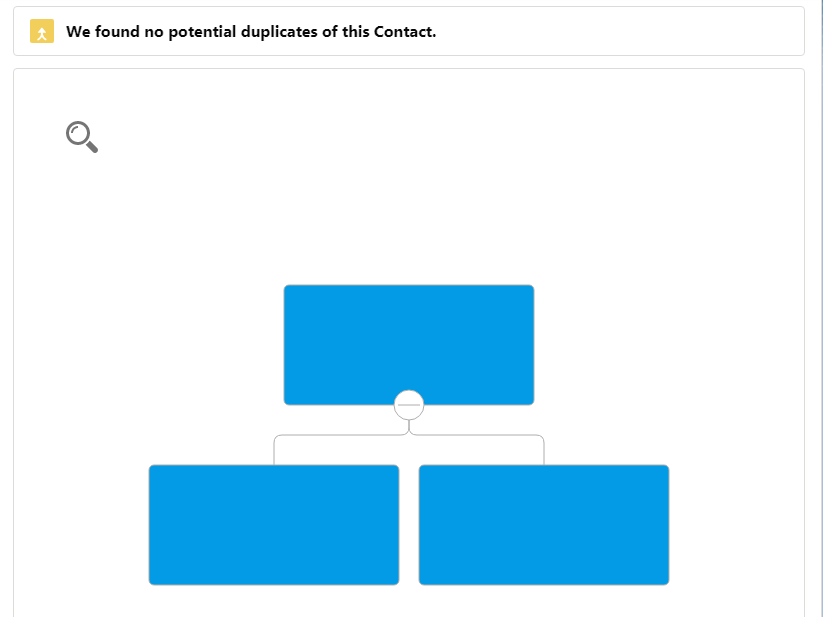
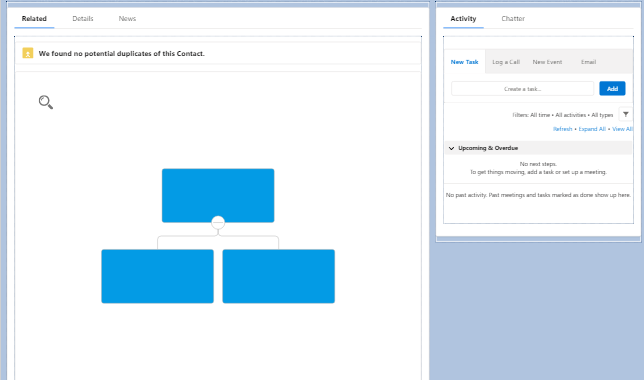
You should now be able to see the chart.
Click on Save on top right.
Click on Activate if asked.
On Activation: Contact Record Page click on Assign as Org Default
On the next page select Desktop and Phone and click Next
On the next page click Save
Go back to the record page and you should be able to view the chart now.
